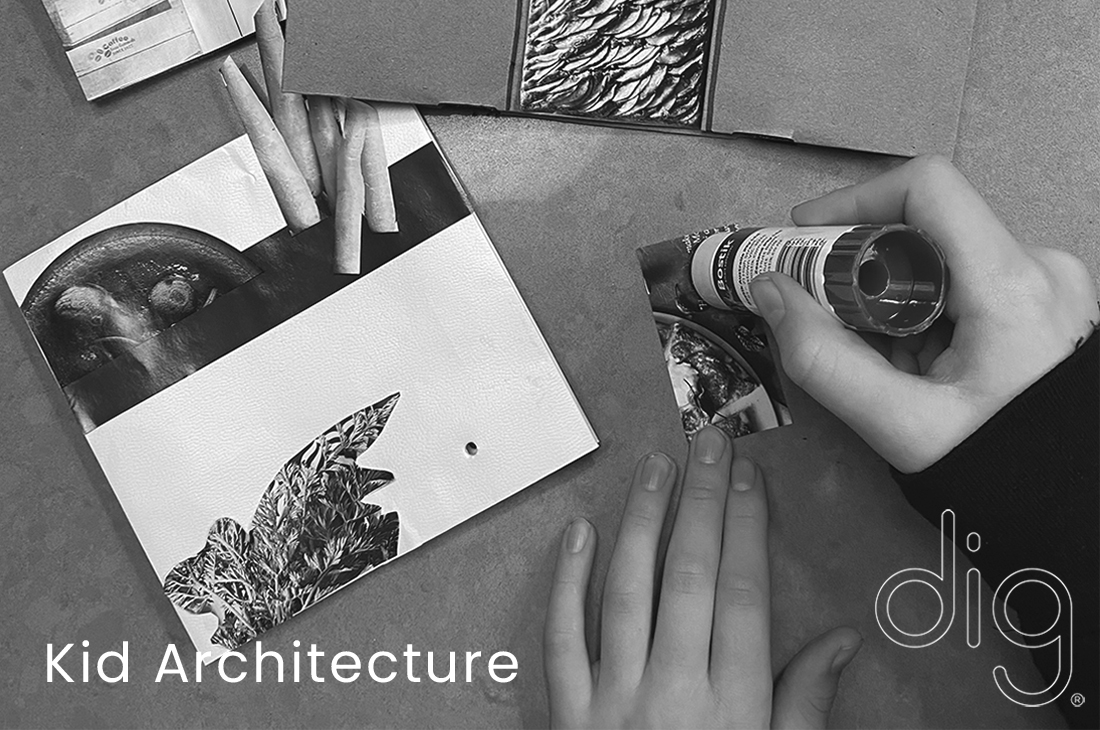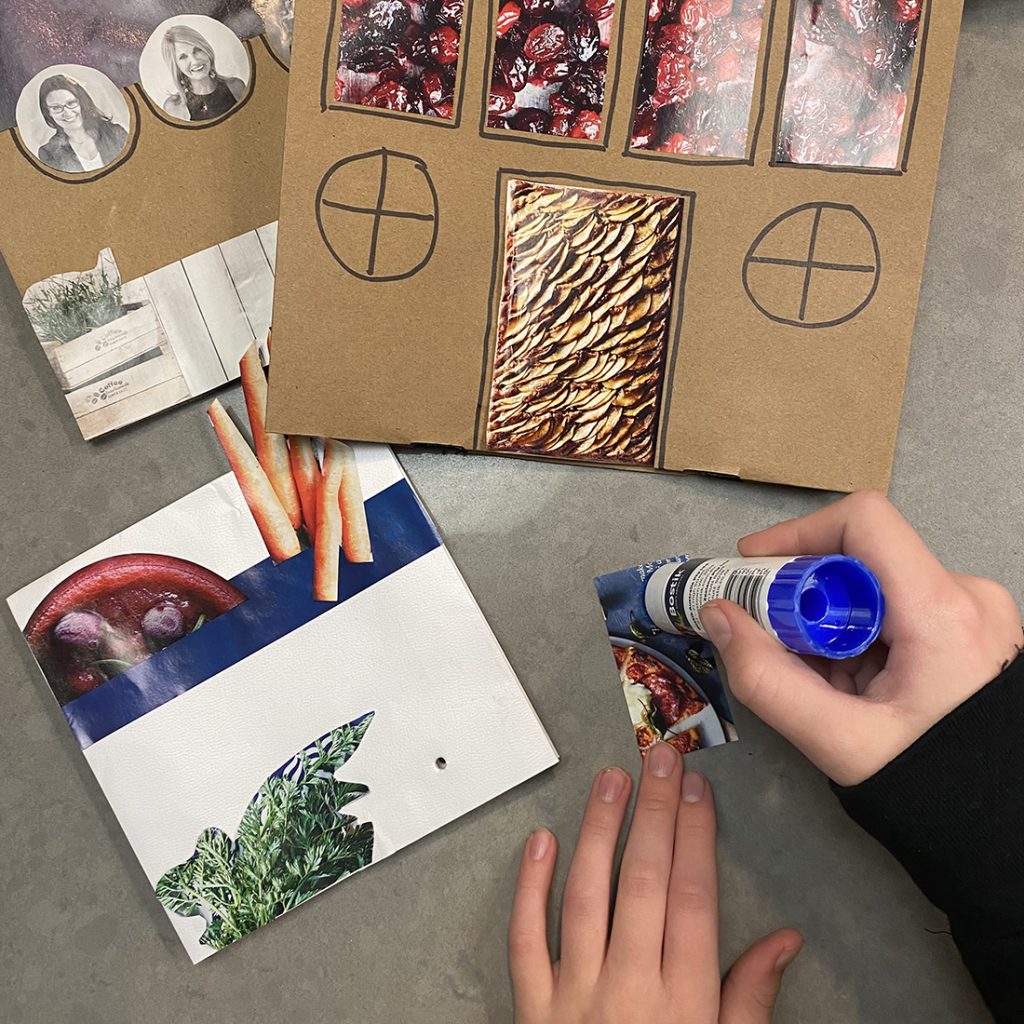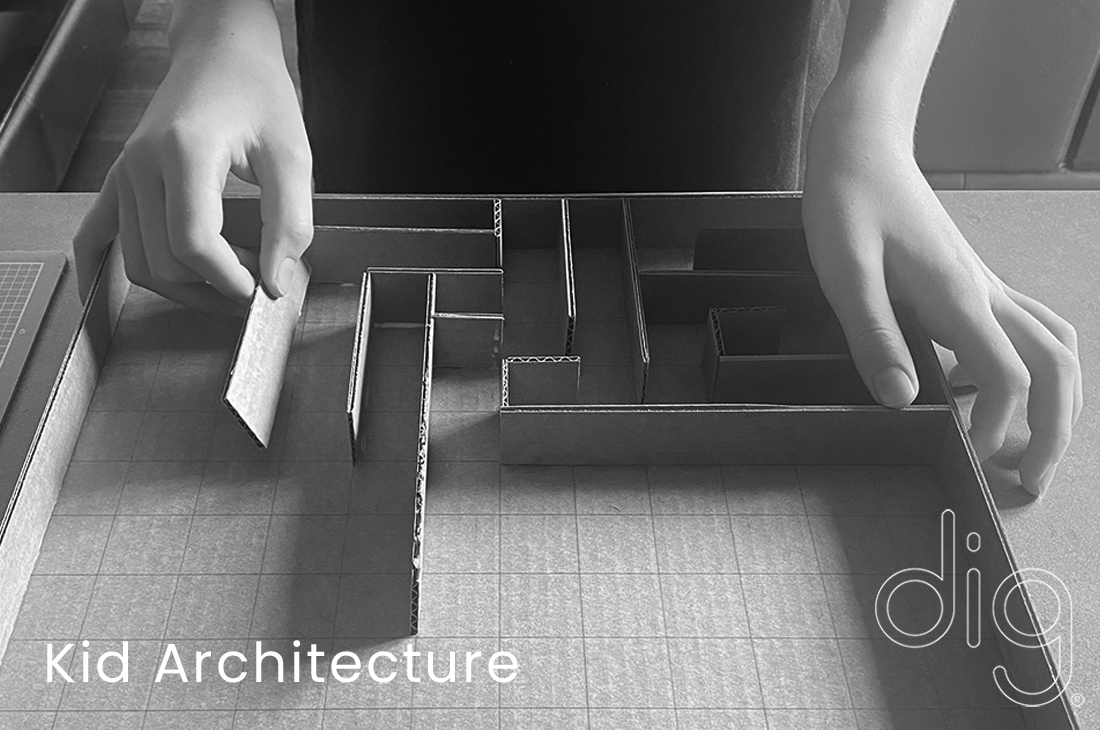
Kid Architecture – Marble Maze
Kid Architecture is a series we have started at Dig Design, setting activities for young minds and inspiring the next generation of architects, designers and engineers. Marble Maze is an activity that will activate their creativity, engage their problem solving capabilities and lets face it … is lots of fun.
How complex will make your maze?
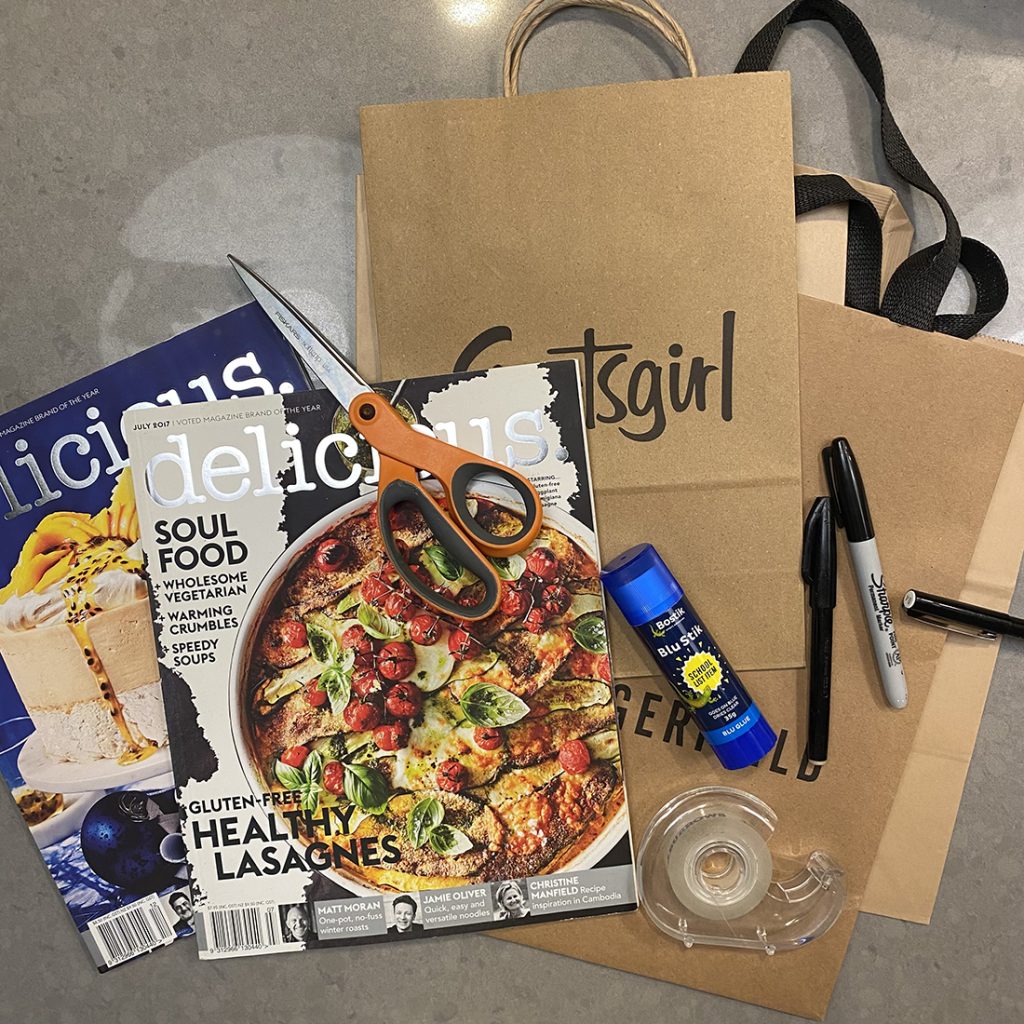
Equipment
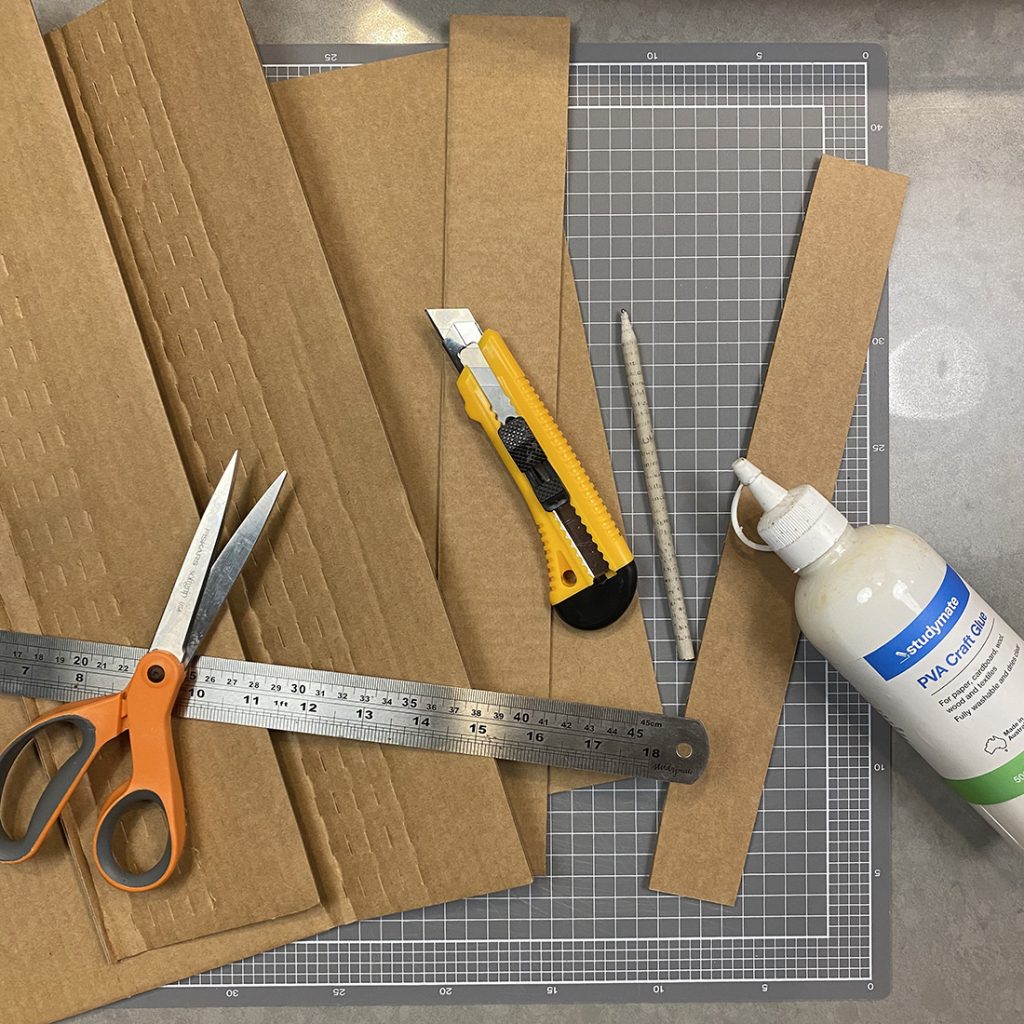
You’ll need:
- Cardboard, an old box is perfect.
- Cutting Mat, or something to cut on.
- Metal Ruler.
- Cuttling Blade.
- Scissors.
- Pencil.
- PVA Glue.
- Marble.
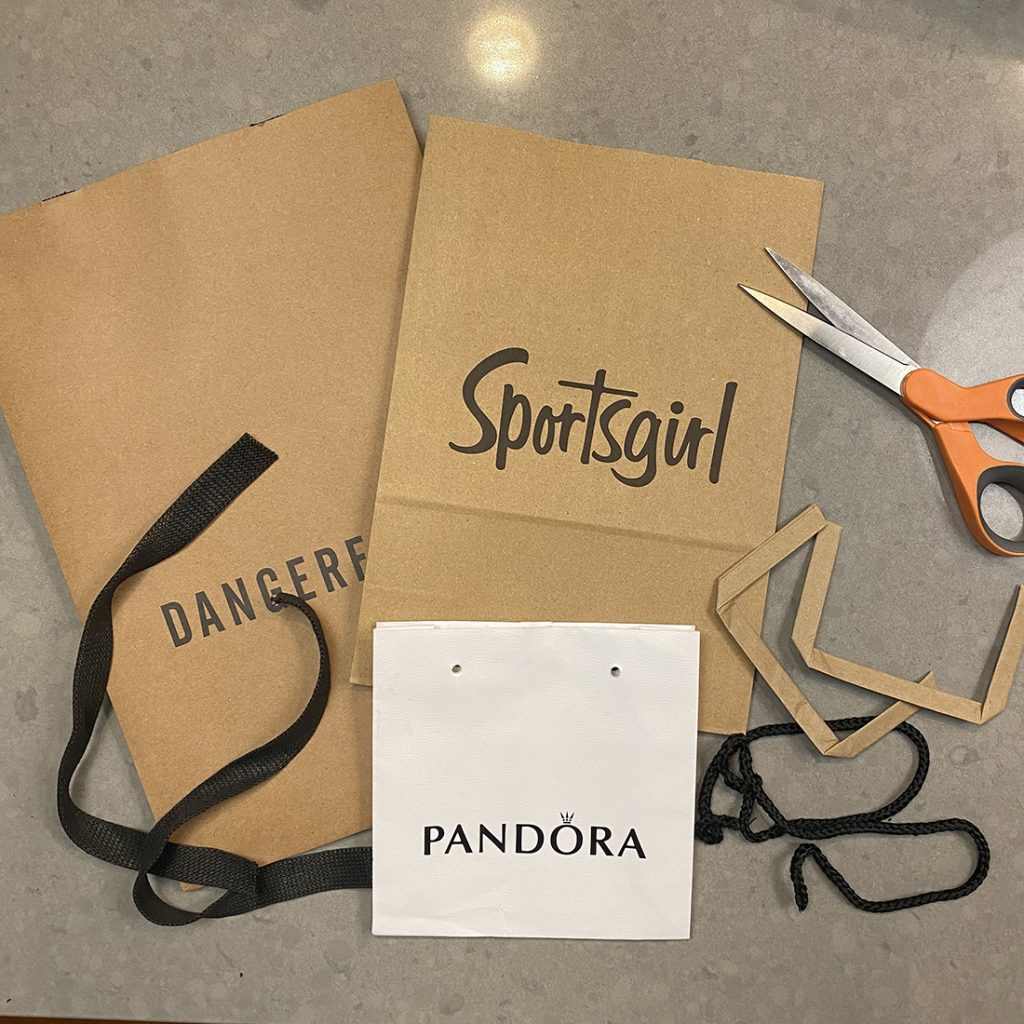
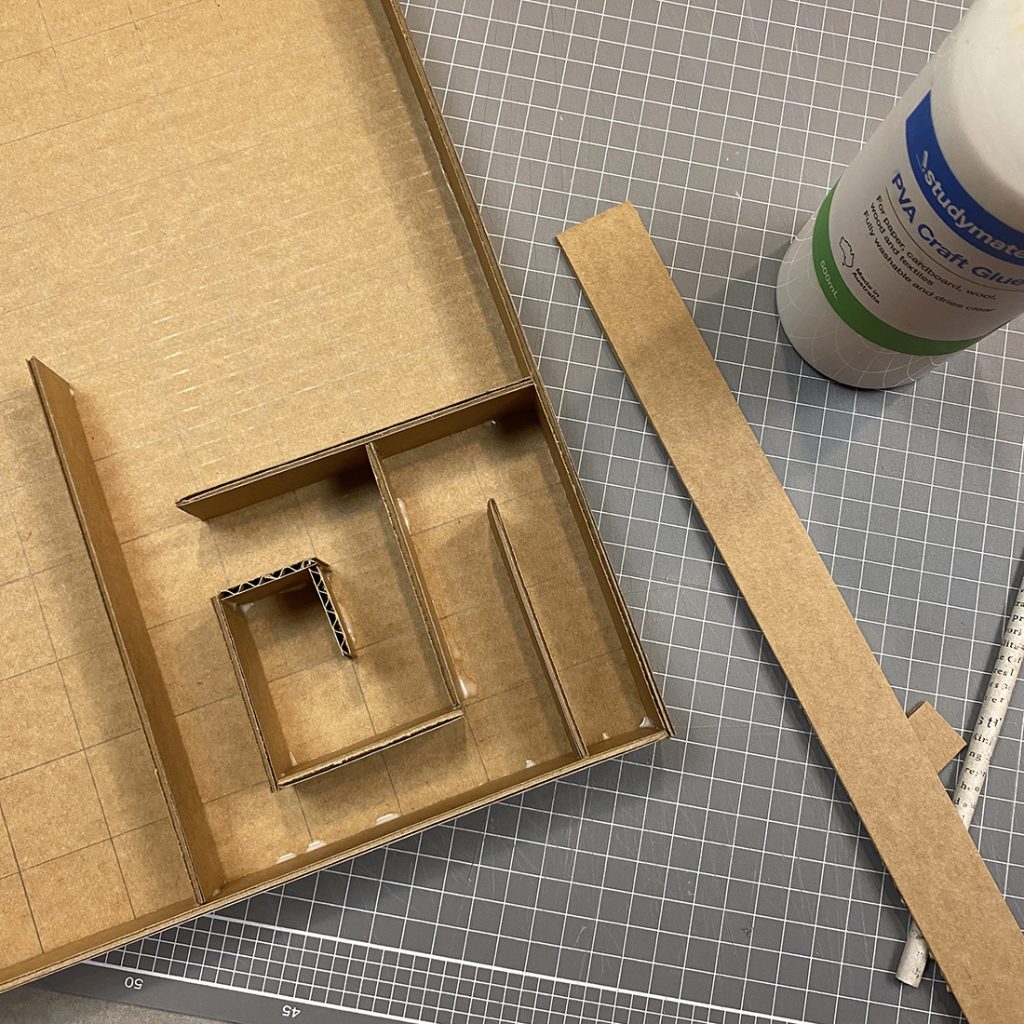
Step 01
Measure and cut the base for your Marble Maze.
Ideally, get a grown up to cut the base using the metal ruler and the cutting blade for a clean edge.
If your grown up says its OK for you to cut the cardboard, DO NOT use the blade and ruler method, just use scissors … it will be safer.
Then cut strips of cardboard to construct the walls of your maze. Again, get a grown up to use the blade and ruler method for sharp edges, they will be easier to glue onto the base.
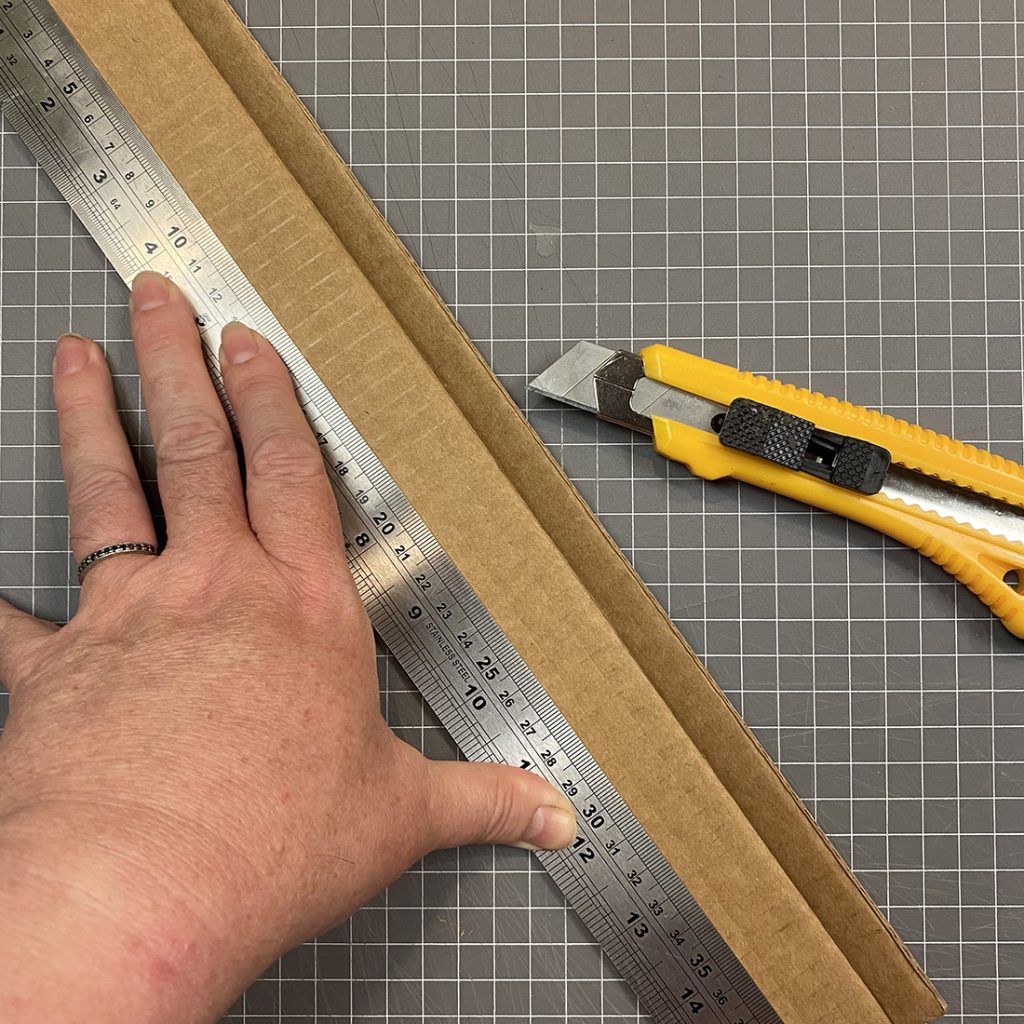
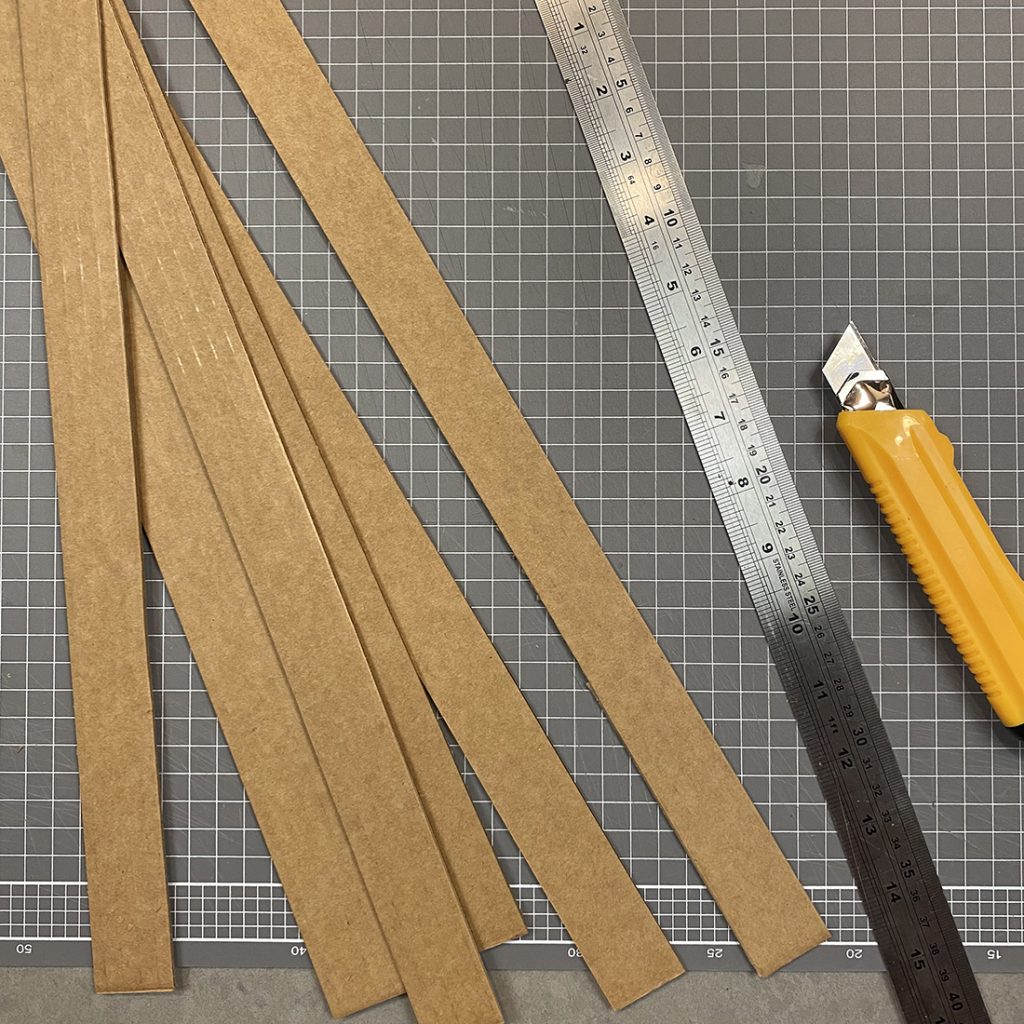
** HINT ** Suggest your grown up cuts the wall strips the width of the metal ruler, it will be easier for them.
Step 02
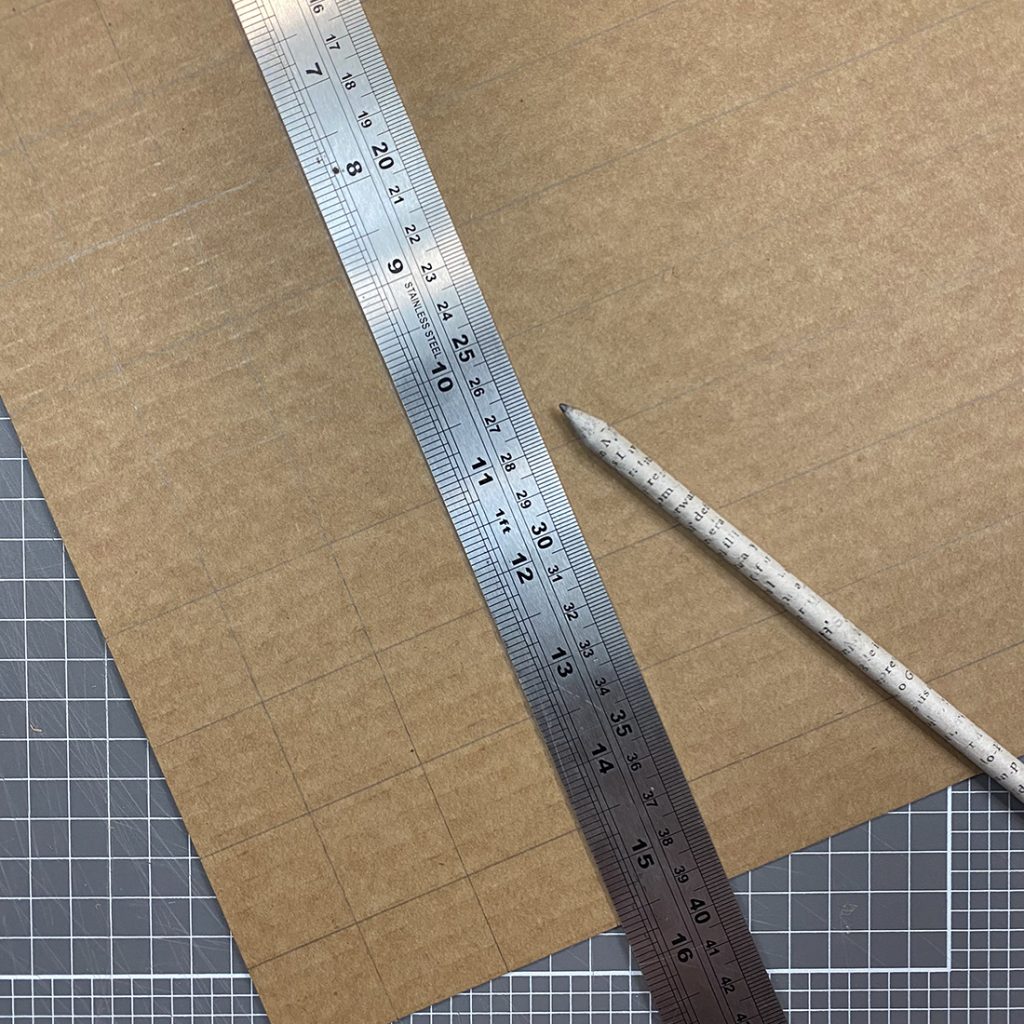
Rule out a grid on your base, north-south and east-west.
This will give you lines to glue your walls along.
** HINT ** Make sure the walls are spaced so that your marble can fit comfortably between them.
Step 03
Firstly, glue a wall around the perimeter of the board. The perimeter, is the outer edge or an object (in this case your base).
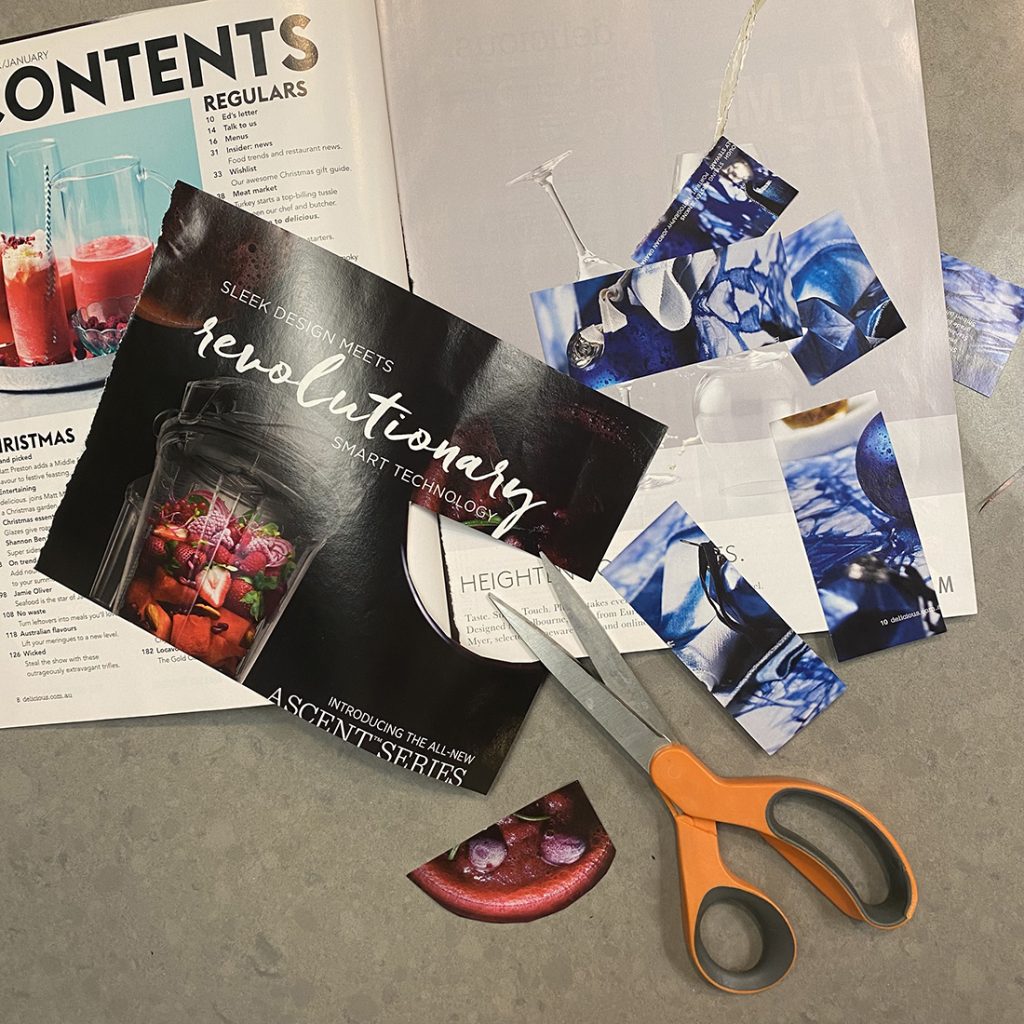
Measure and cut your walls, using the grid to guide you. You can use scissors here if your carboard isn’t too thick.
Glue them into place, don’t forget to glue both the base of the wall and the end of any wall that meets another.

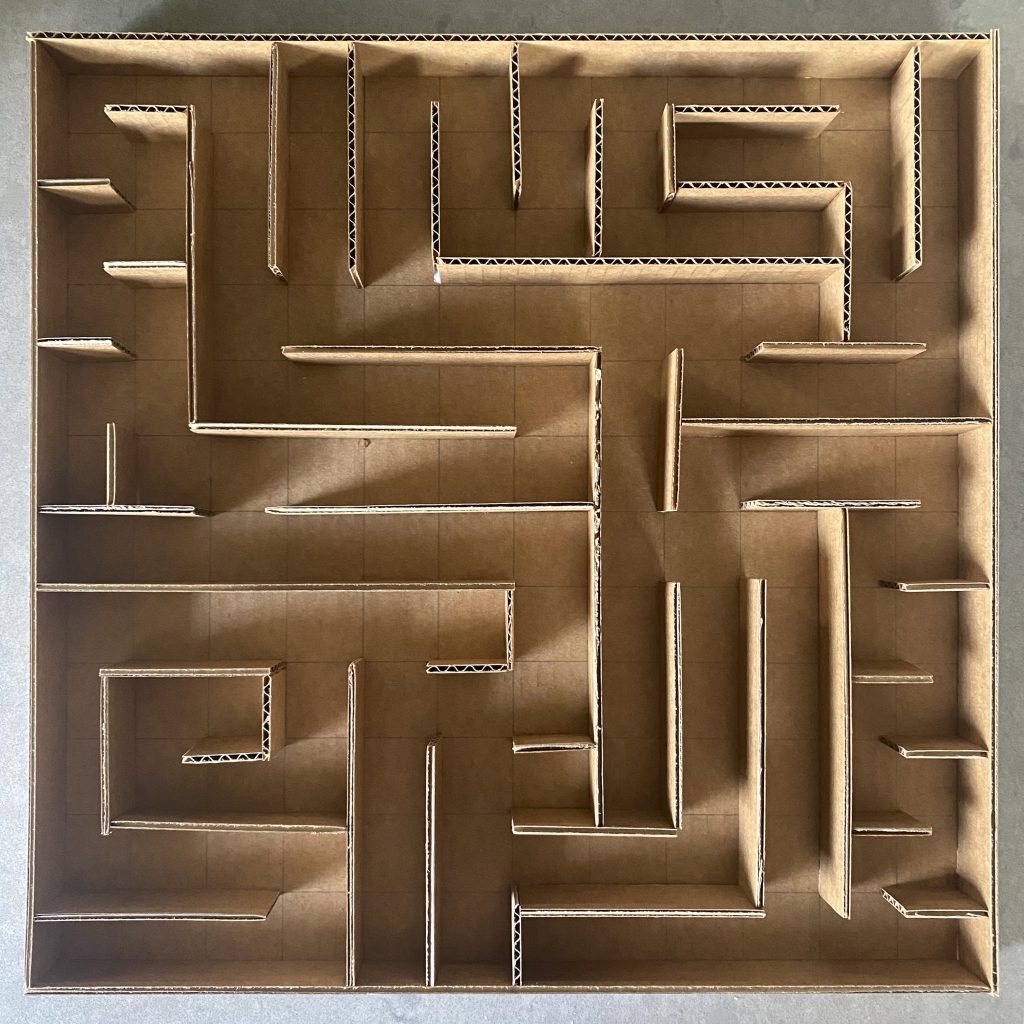
** HINT ** Don’t forget to make sure there is a path of travel, but it is more fun if you have some blocked pathways too. You can draft a maze on a piece of paper first to make sure it works.
Step 04
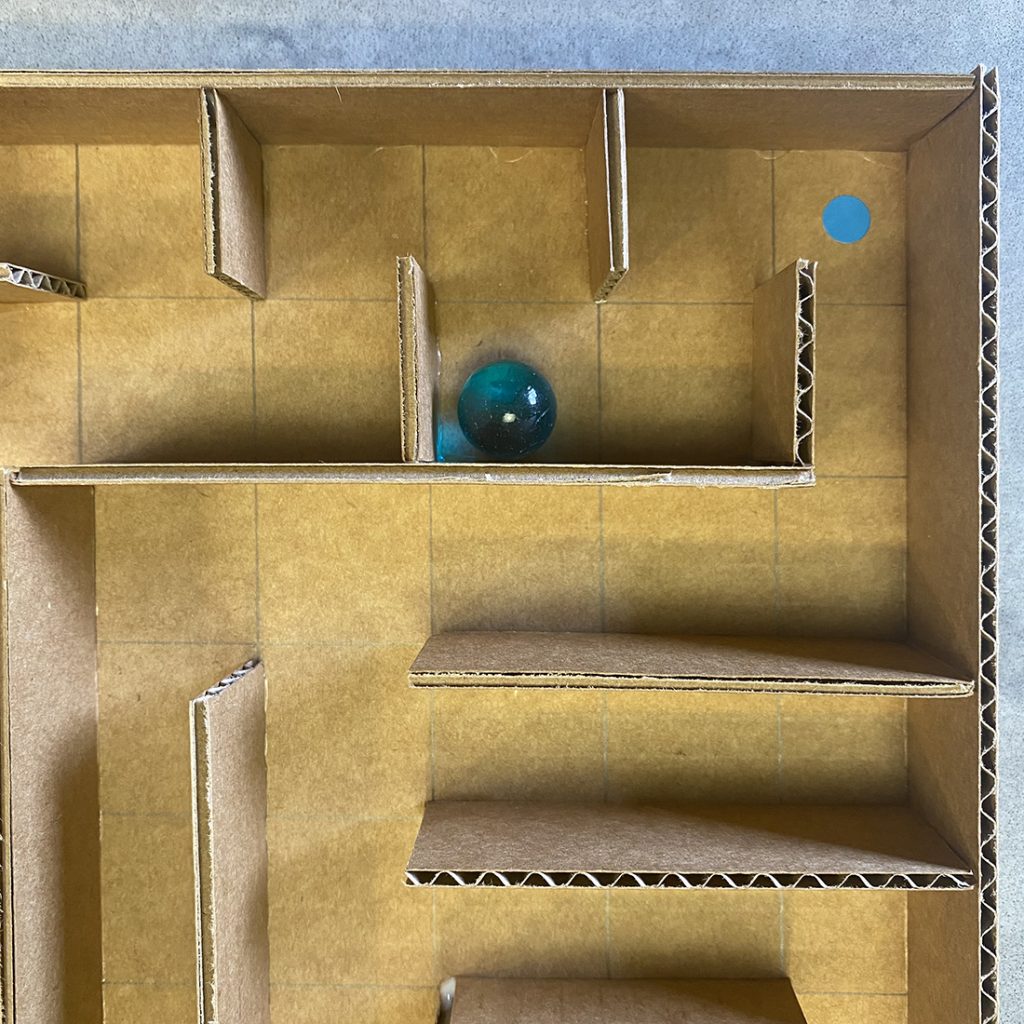
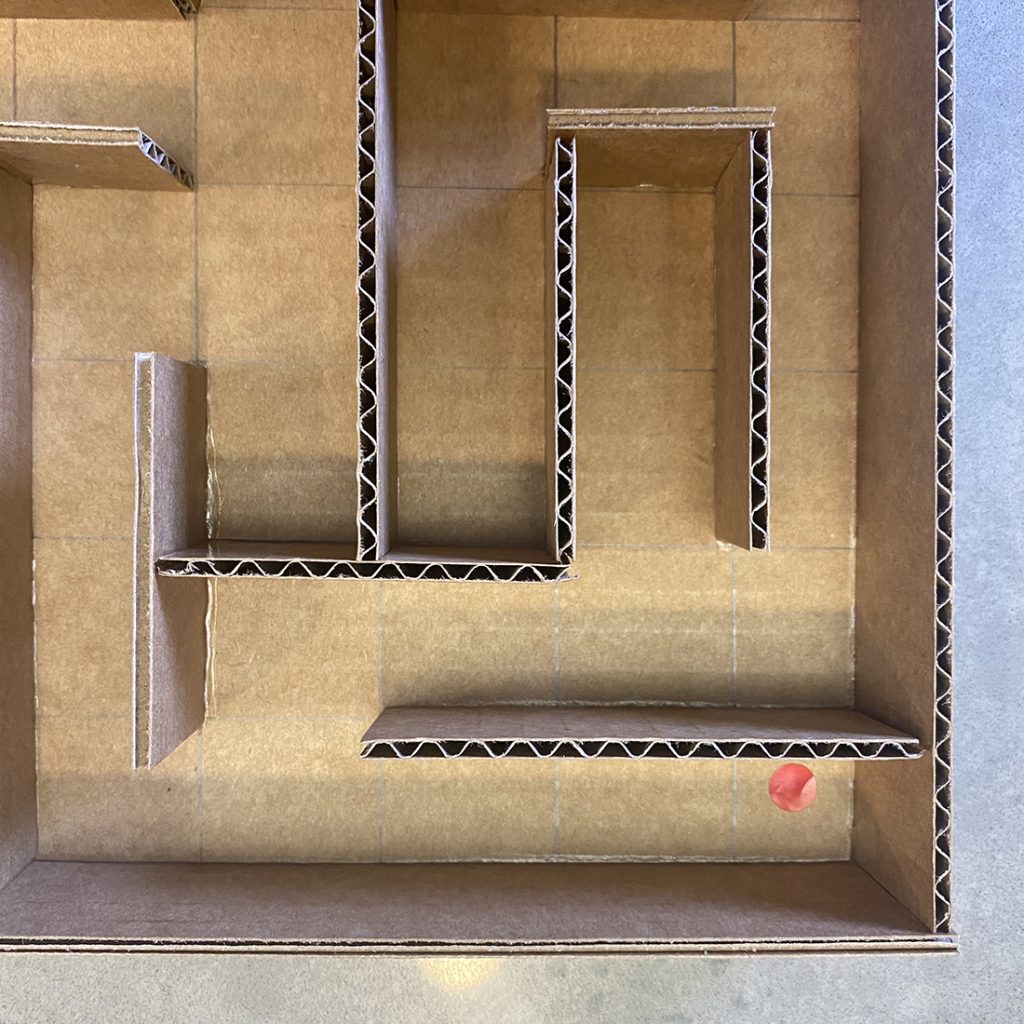
Mark start and finish points in your maze.
You could use markers, coloured paper, write the words, or office junior used coloured stickers (from Kmart), he put a different colour in each corner.
TaDa
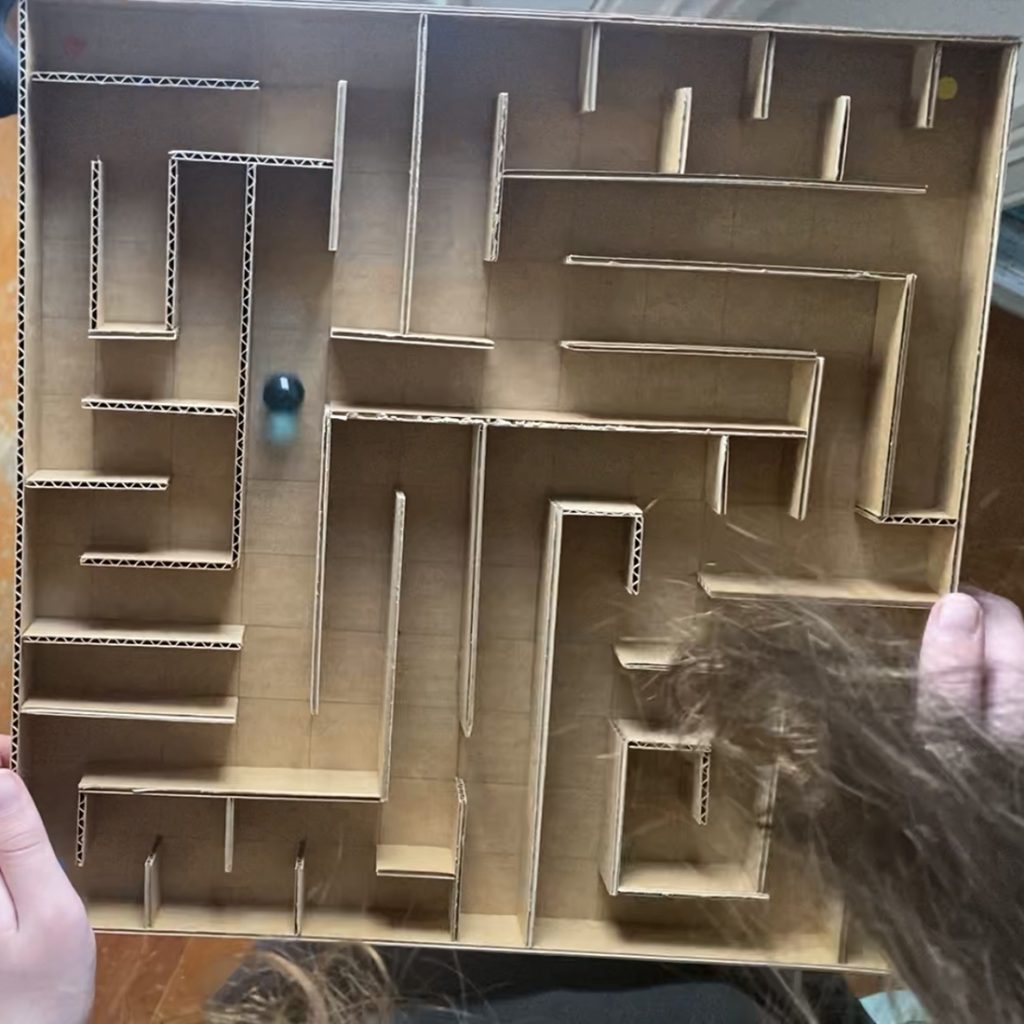
Put your marble in and make it travel from start to finish by tilting the maze left-right-up-down.
You could time your runs with a stop watch.
You could make your marble travel to different points in the maze in a set order.
Office Junior James’s Learnings
Get a grown up to do the cutting if you want to use the blade and ruler method, you have a really nice clean edge that way. Don’t try this method yourself, it’s really easy to cut your fingers … ouch!
I thought the maze was too easy, so I’m going to add some extra blocking pieces to it.
You can try different shapes too, it doesn’t have to be a square.
You could also try different objects in the maze that you have to navigate, milk bottle lids that kind of thing.
We’d Love to See Your Creations
Email us a photo of your Marble Maze once you’ve finished … hello@digdesign.net.au
HAVE FUN!